IMPORTANT - This setup will only work when you are connected to your home WiFi it will not work when using 4G / 5G.
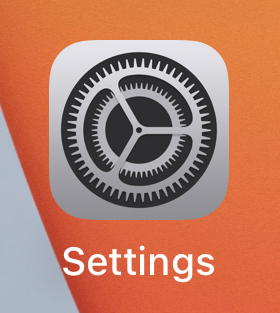
Step 1: Open the Settings App
- On your iPhone, locate and tap the Settings app on the home screen.
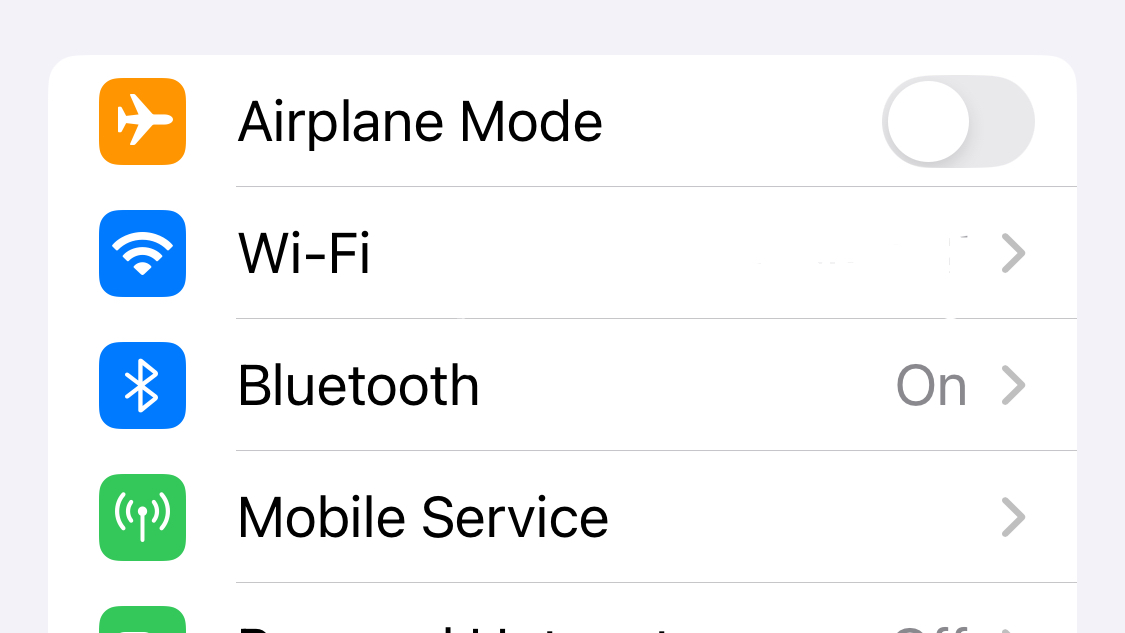
Step 2: Go to Wi-Fi Settings
- In the Settings menu, tap on Wi-Fi to view the list of available networks.
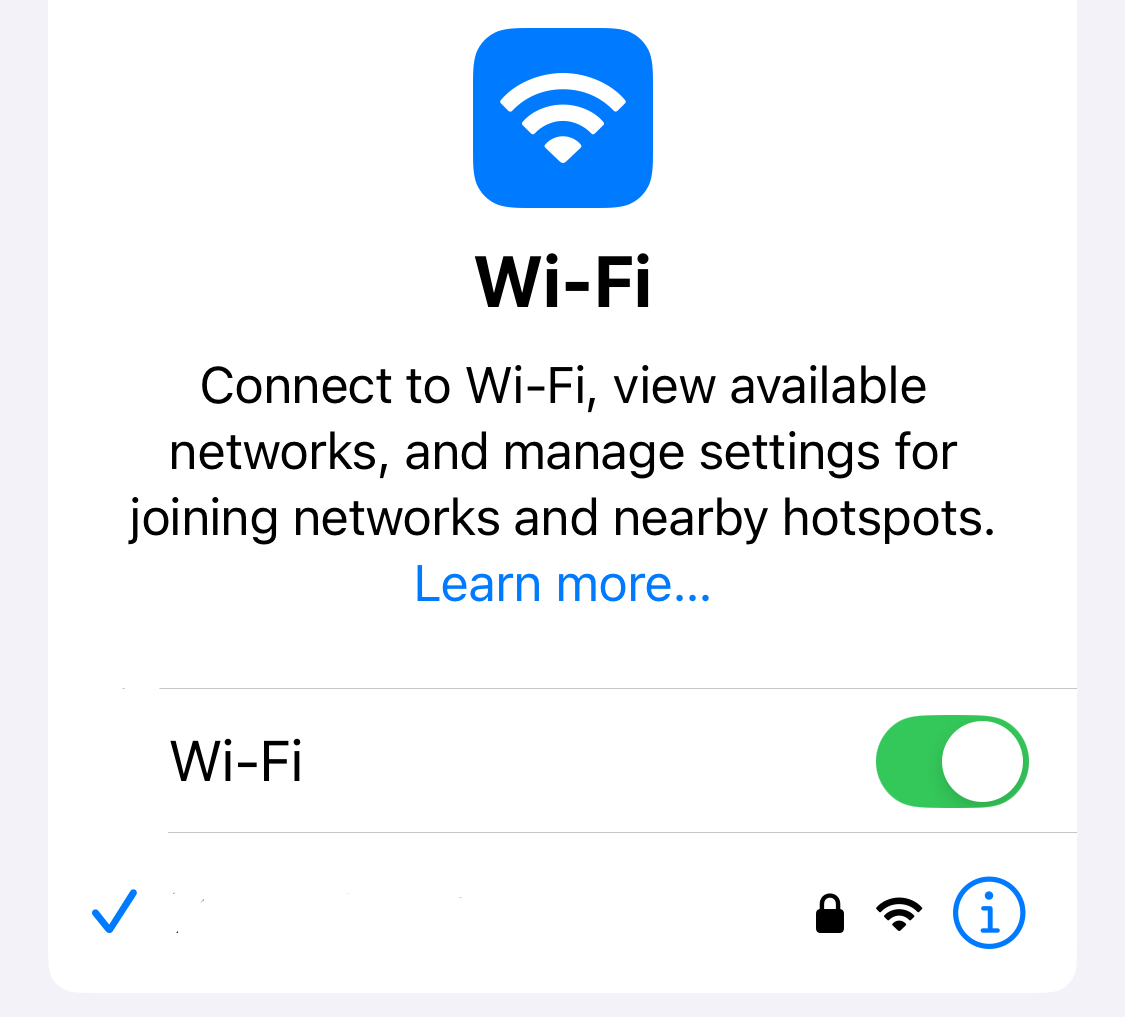
Step 3: Select Your Wi-Fi Network
- Find the Wi-Fi network you are currently connected to (it will have a checkmark next to it) or the one to which you want to add the proxy.
- Tap the small (i) icon next to the network name to open the details.
Step 4: Scroll Down to Configure Proxy
- Scroll to the bottom of the Wi-Fi network details screen, where you'll see an option labeled Configure Proxy.
Step 5: Set the Proxy Configuration
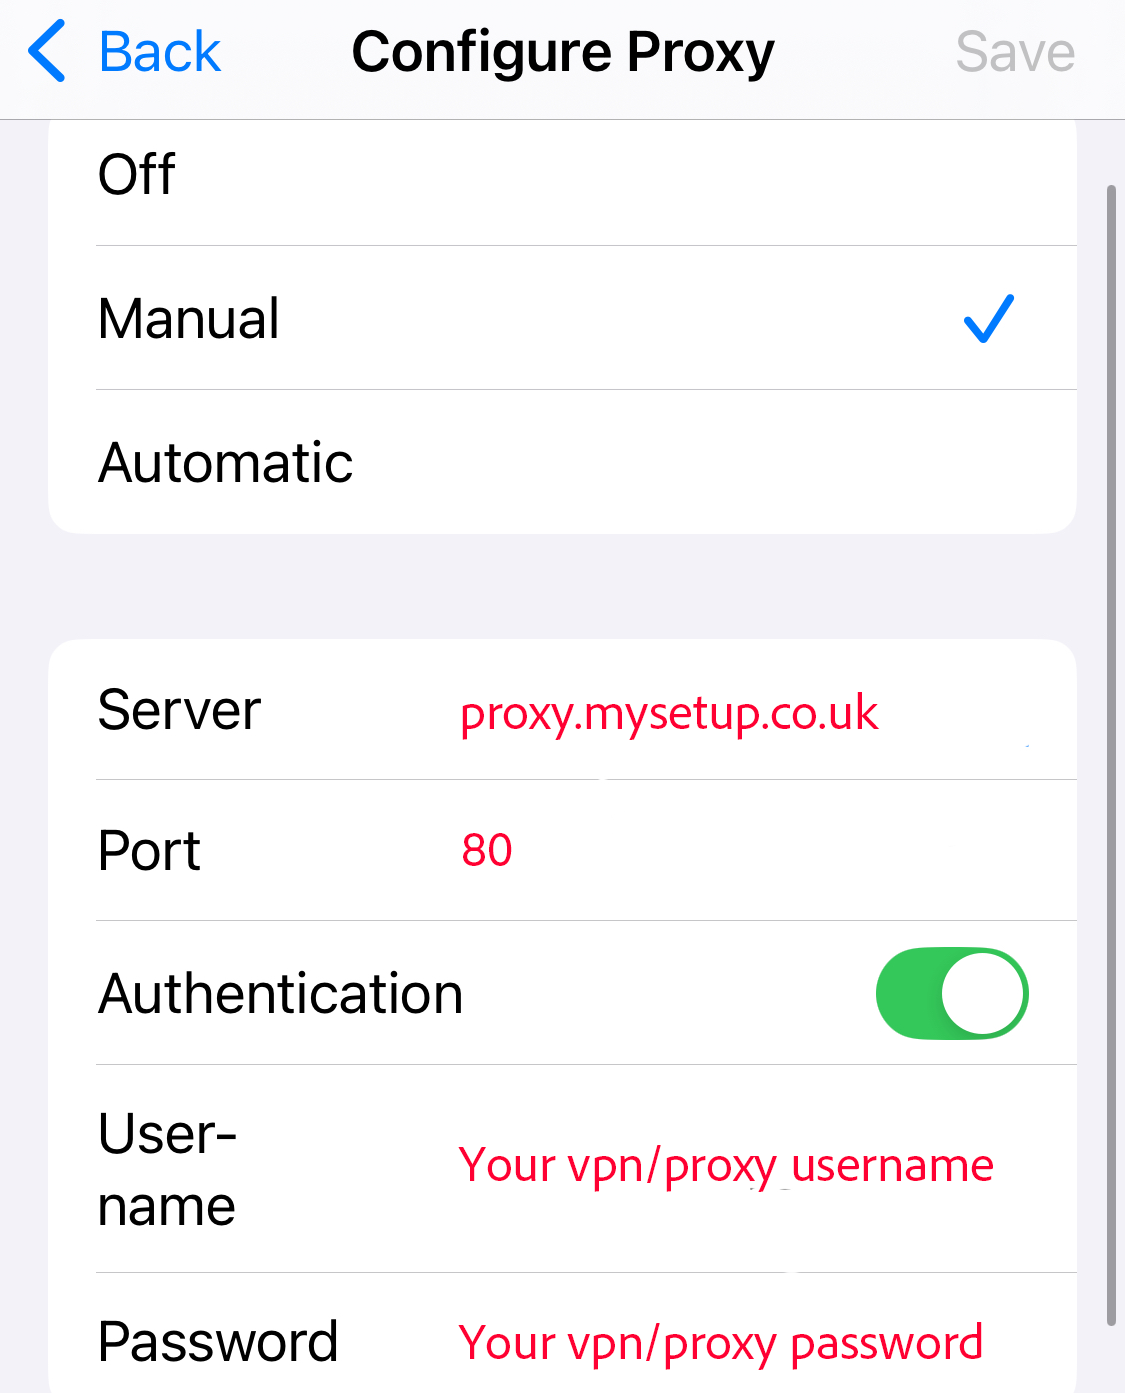
- By default, the proxy setting is set to Off. Tap Manual to configure a proxy:
Manual Proxy Configuration:
- Tap Manual to set up the proxy manually.
- Enter the Server and Port details of the proxy server.
- Server: This is - proxy.mysetup.co.uk
- Port: This is - 80
- Toggle Authentication on and enter your Username and Password.
- Once done, tap Save in the top right corner.
Step 6: Test the Connection
- After configuring the proxy, open Safari or any other app that uses the internet to check if the connection works through the proxy.
- If it doesn't, double-check the proxy settings, server, port, and authentication credentials to ensure everything is correct.
Step 7: Disable or Change the Proxy (Optional)
- To remove or change the proxy settings, follow the same steps and either set the Configure Proxy option back to Off or adjust the proxy settings as needed.
That's it! Your device should now use the proxy when connected to the Wi-Fi network you just configured.


Greg
Comments